
 Katherine Green
Photography
Travel Photography Basics and Travel Photography 101
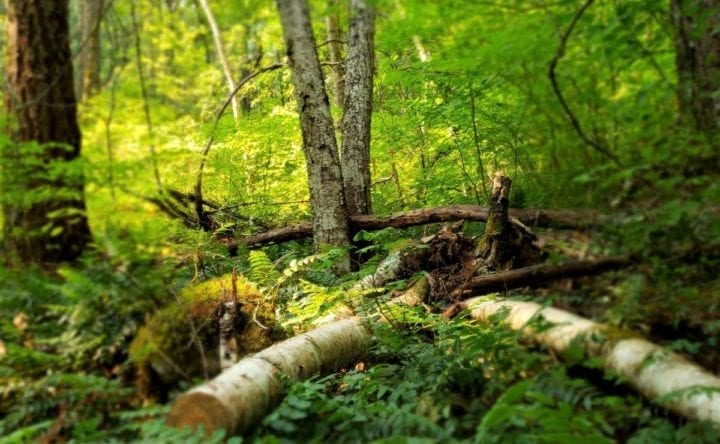
I thought it would be good to cover some travel photography basics and interesting points for taking good travel photos. I’m not talking about technical points of travel photography. Rather, I want to explain my thoughts on composition. To me, the composition is what makes a good travel photograph. Before I go too far, I want to mention the cover photo, and why I picked it. The cover photo is my favorite of the day because of the backlighting. The fallen logs don’t go to the corners of the image. The center point is not evenly in the middle, and the light leads the viewer’s eye away, toward the woods.
Travel Photography 101 or Travel Photography Basics
One of the most important factors in travel photography basics is when the photos are straight! Once you have mastered that basic, move on to the next area you want to work on because you can’t fix everything at once. Take a walk. Practice taking a straight photo before you go on vacation or traveling.

Travel Photography Basics 1 – Trail of the Cedars Hike
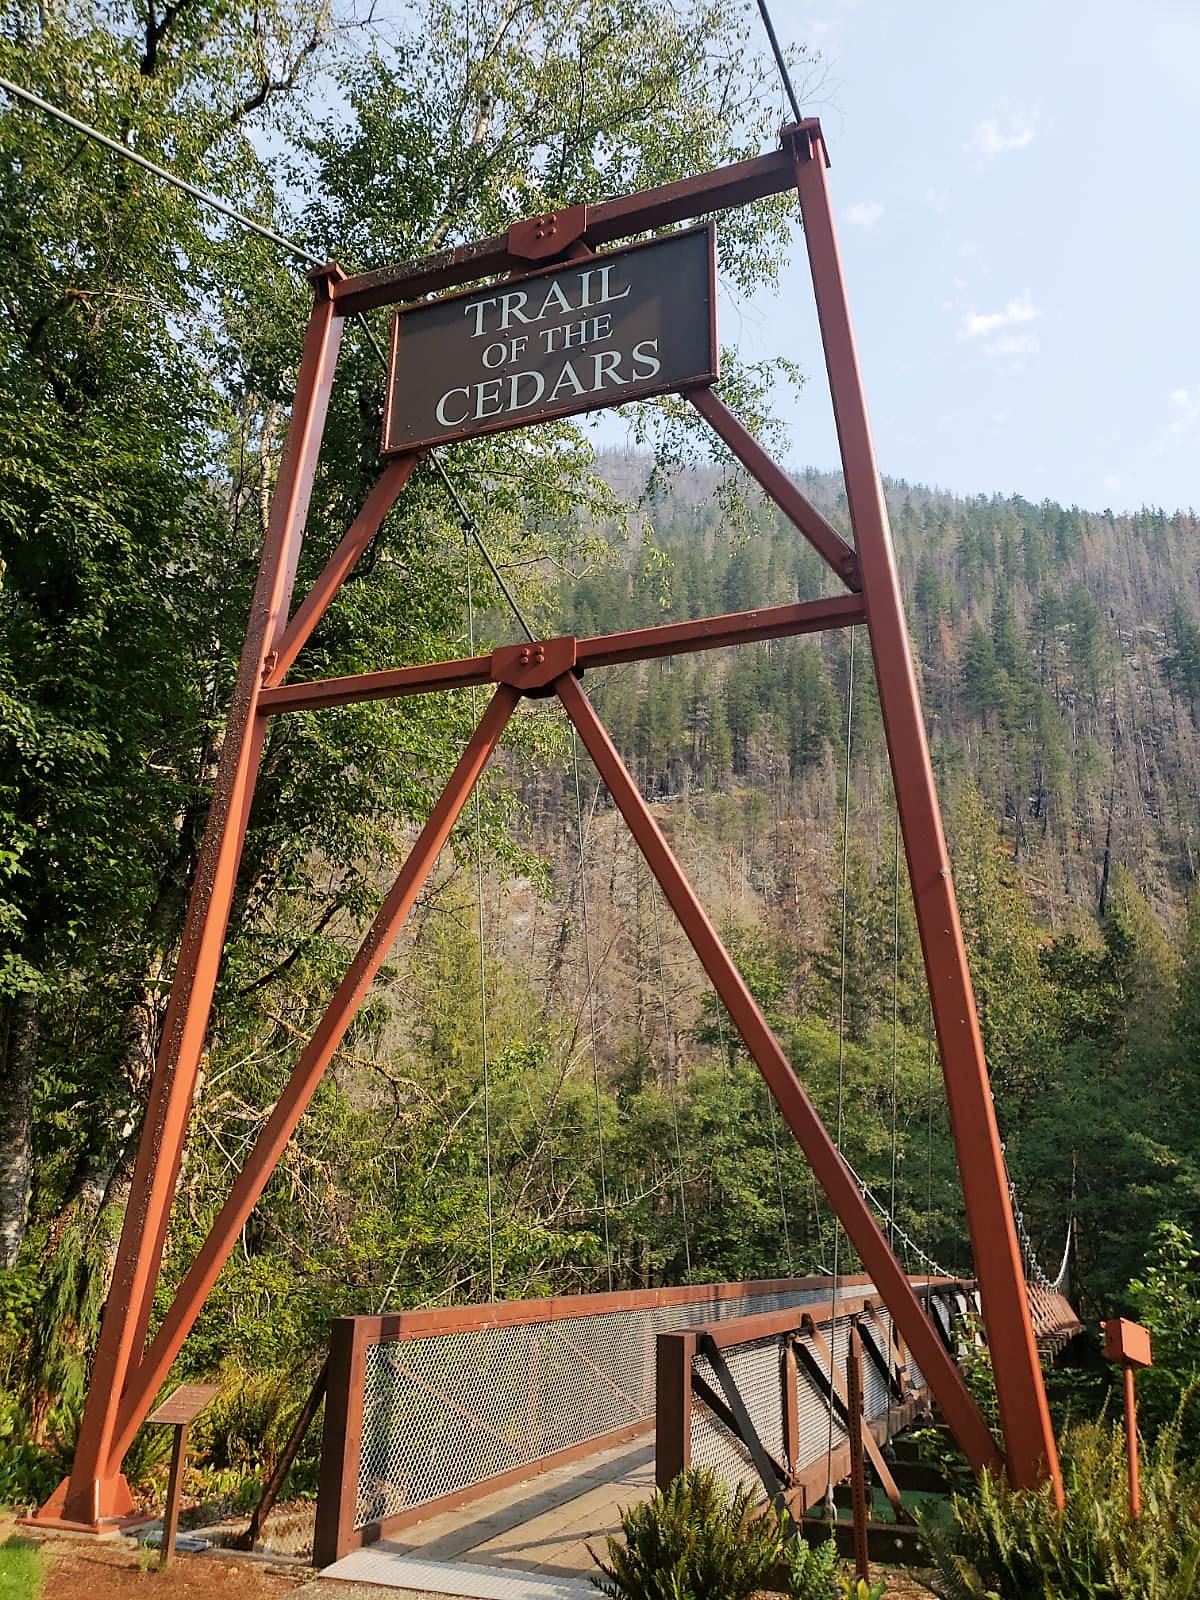
All the travel photography basics in this post were taken on Trail of the Cedars in the North Cascades in Washington. Recently, I hiked the trail and realized it offers lots of examples for good travel photography basics. Nature photography is a great subject to practice your skills. For the photo below, I didn’t want to take it standing straight in front of the bridge. Although some might want to and might like it better. I took it this way because it captures approaching the bridge. I find interesting angles make photos more interesting.


Travel Photography Basics 2 – Lighting
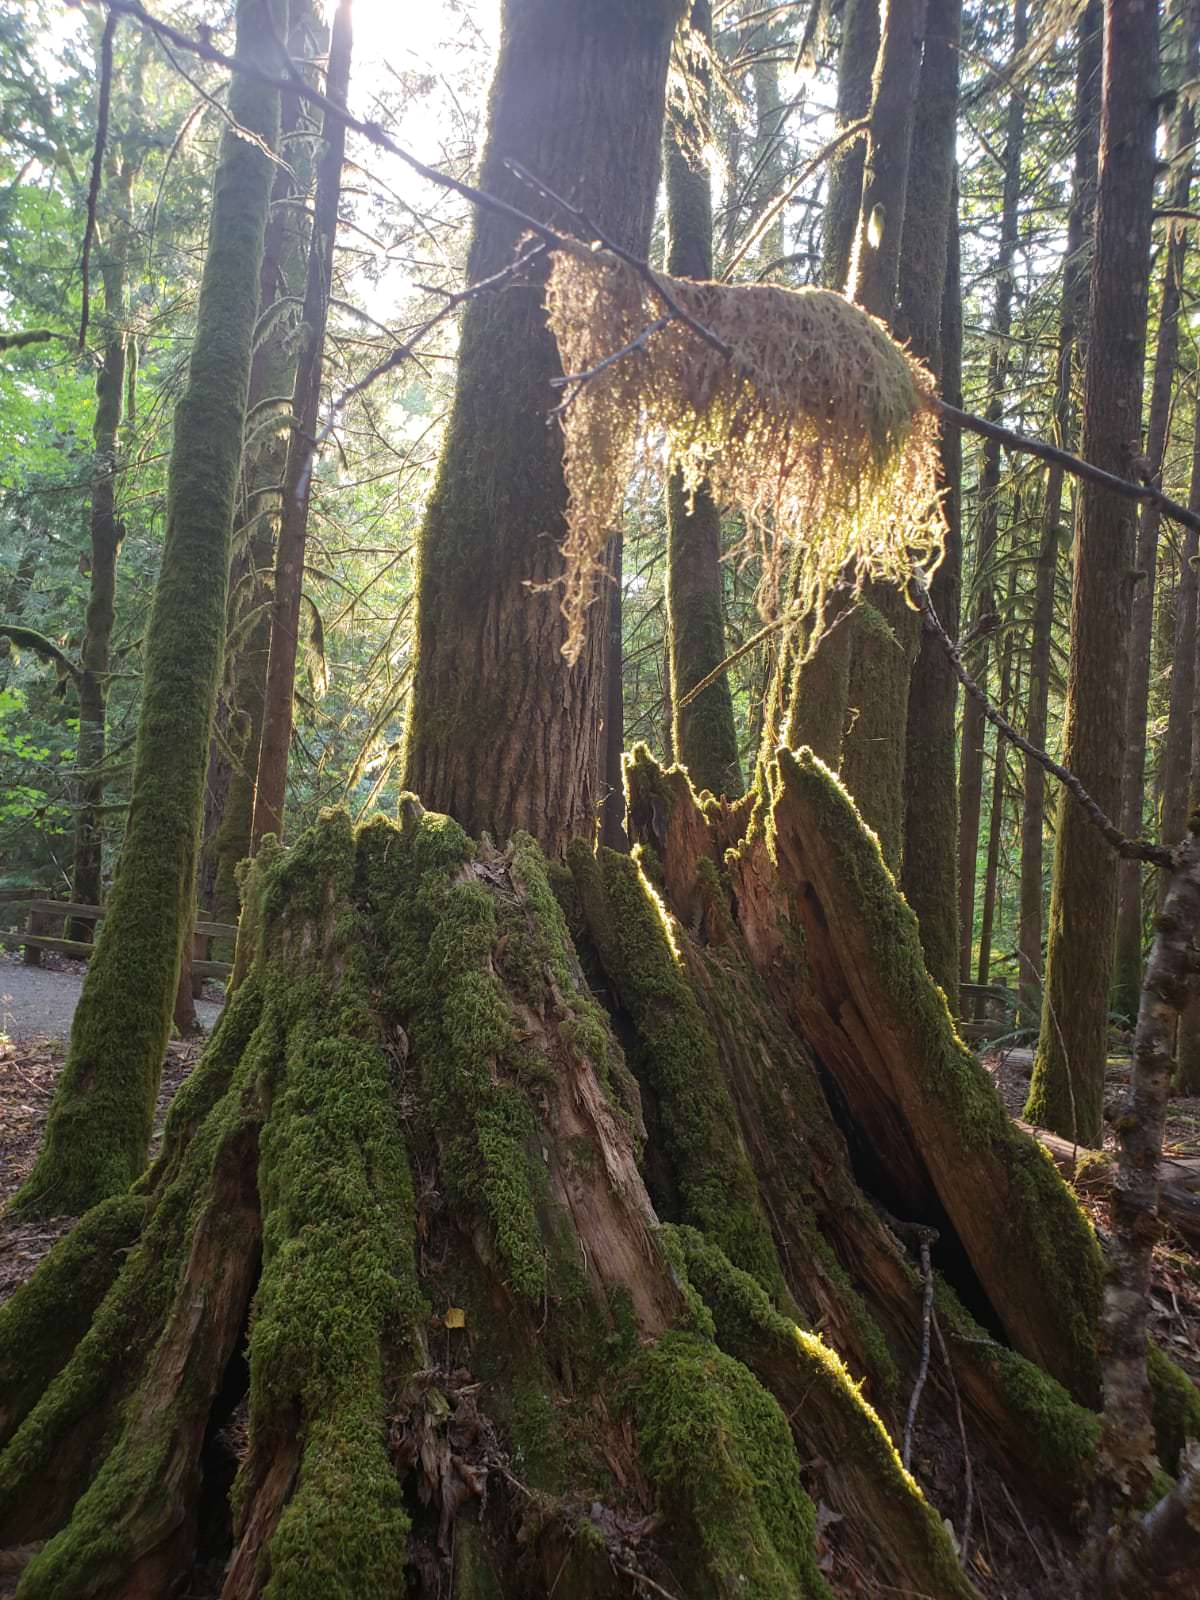
In this photo below, the lighting is the point of interest. The light is bright. The back-lights the cedar and moss and highlights at the base of the tree. At the top of the photo, it is bright, overexposed. The bottom is dark, crisply in focus. It moves the viewer’s eye to the highlight on the moss on the tree trunk.


Travel Photography Basics 3 – Fog, Smog, and Haze
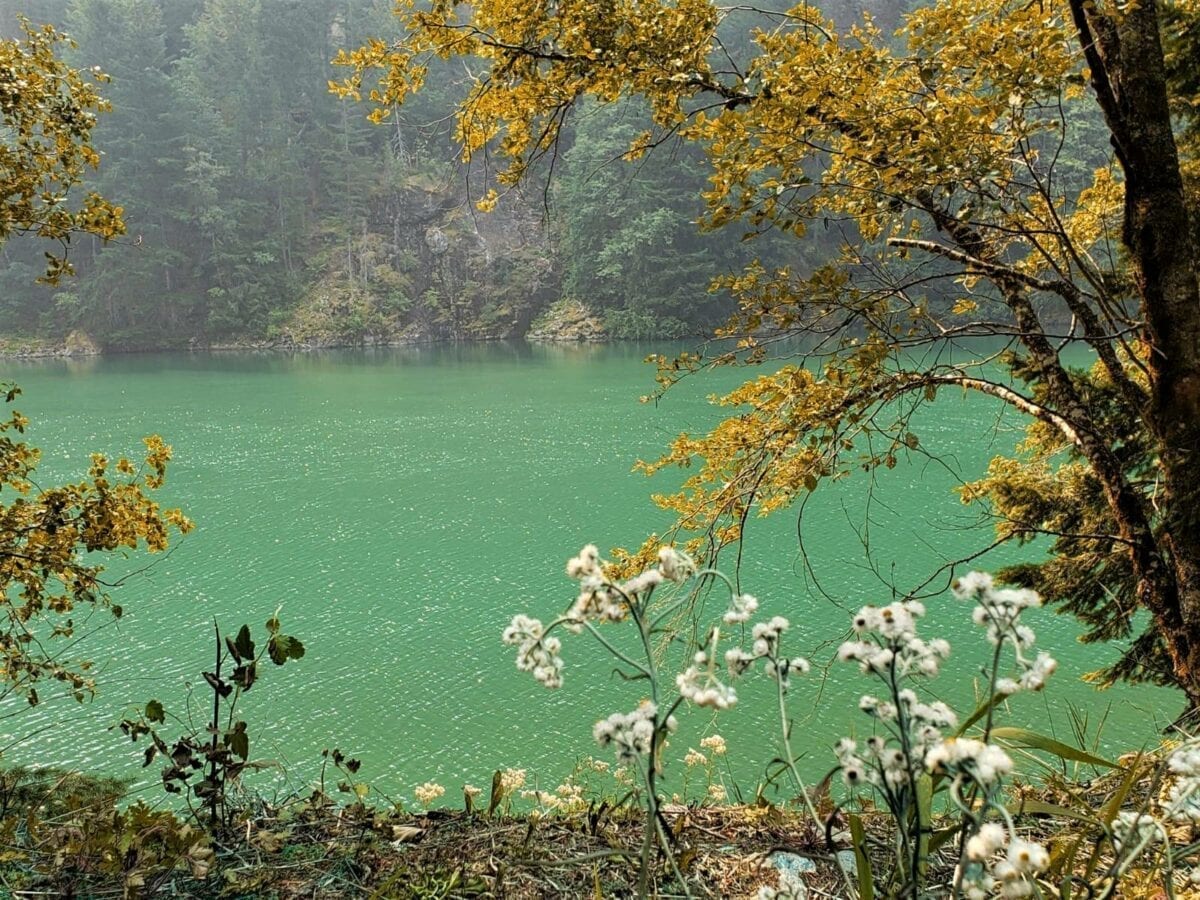
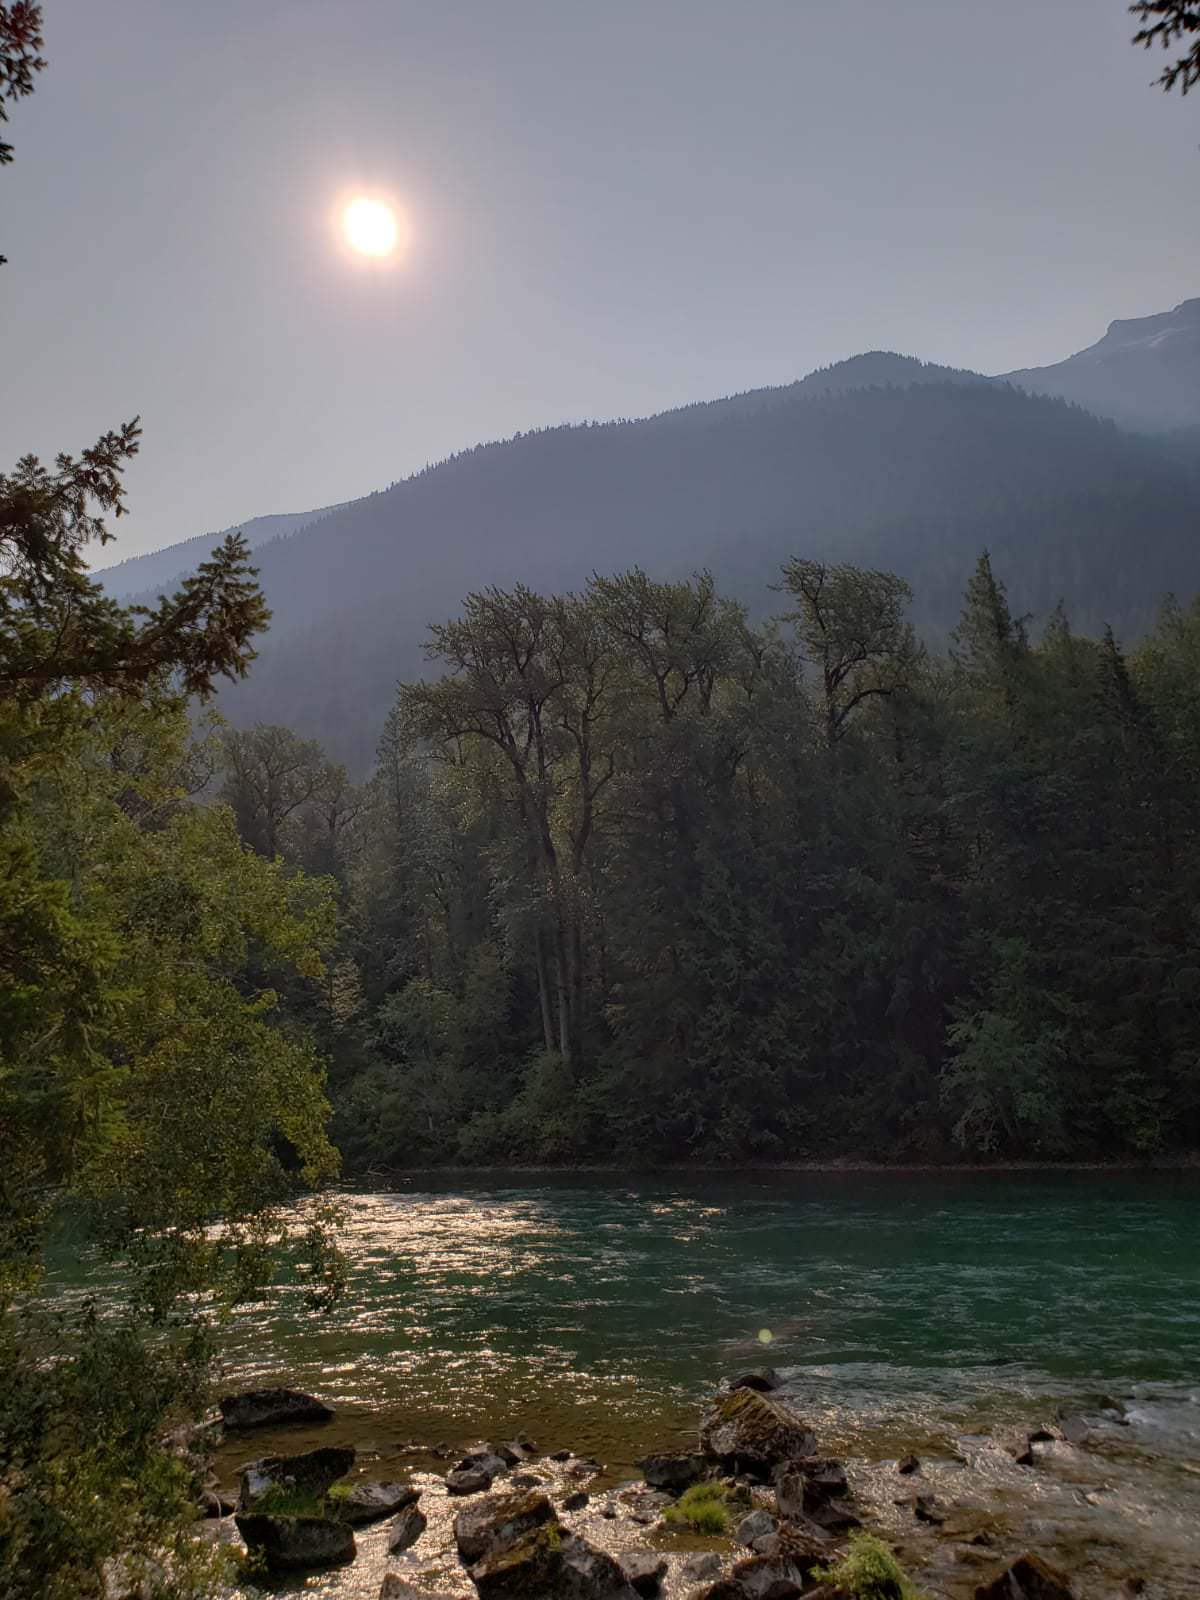
When I went on this hike, it was a smoky hazy day. The sun had a hard time breaking through the smog from forest fires. When a once in a lifetime event is happening, try to capture what makes the day unique. Anyone can take a photo of the water. This is unique because of the haze. The reflection in the water is unique, even though it was 3:00 pm in the afternoon. The reflection on the rocky shore makes defy the time of day which makes it even better.


Travel Photography Basics 4 – Framing the Shot
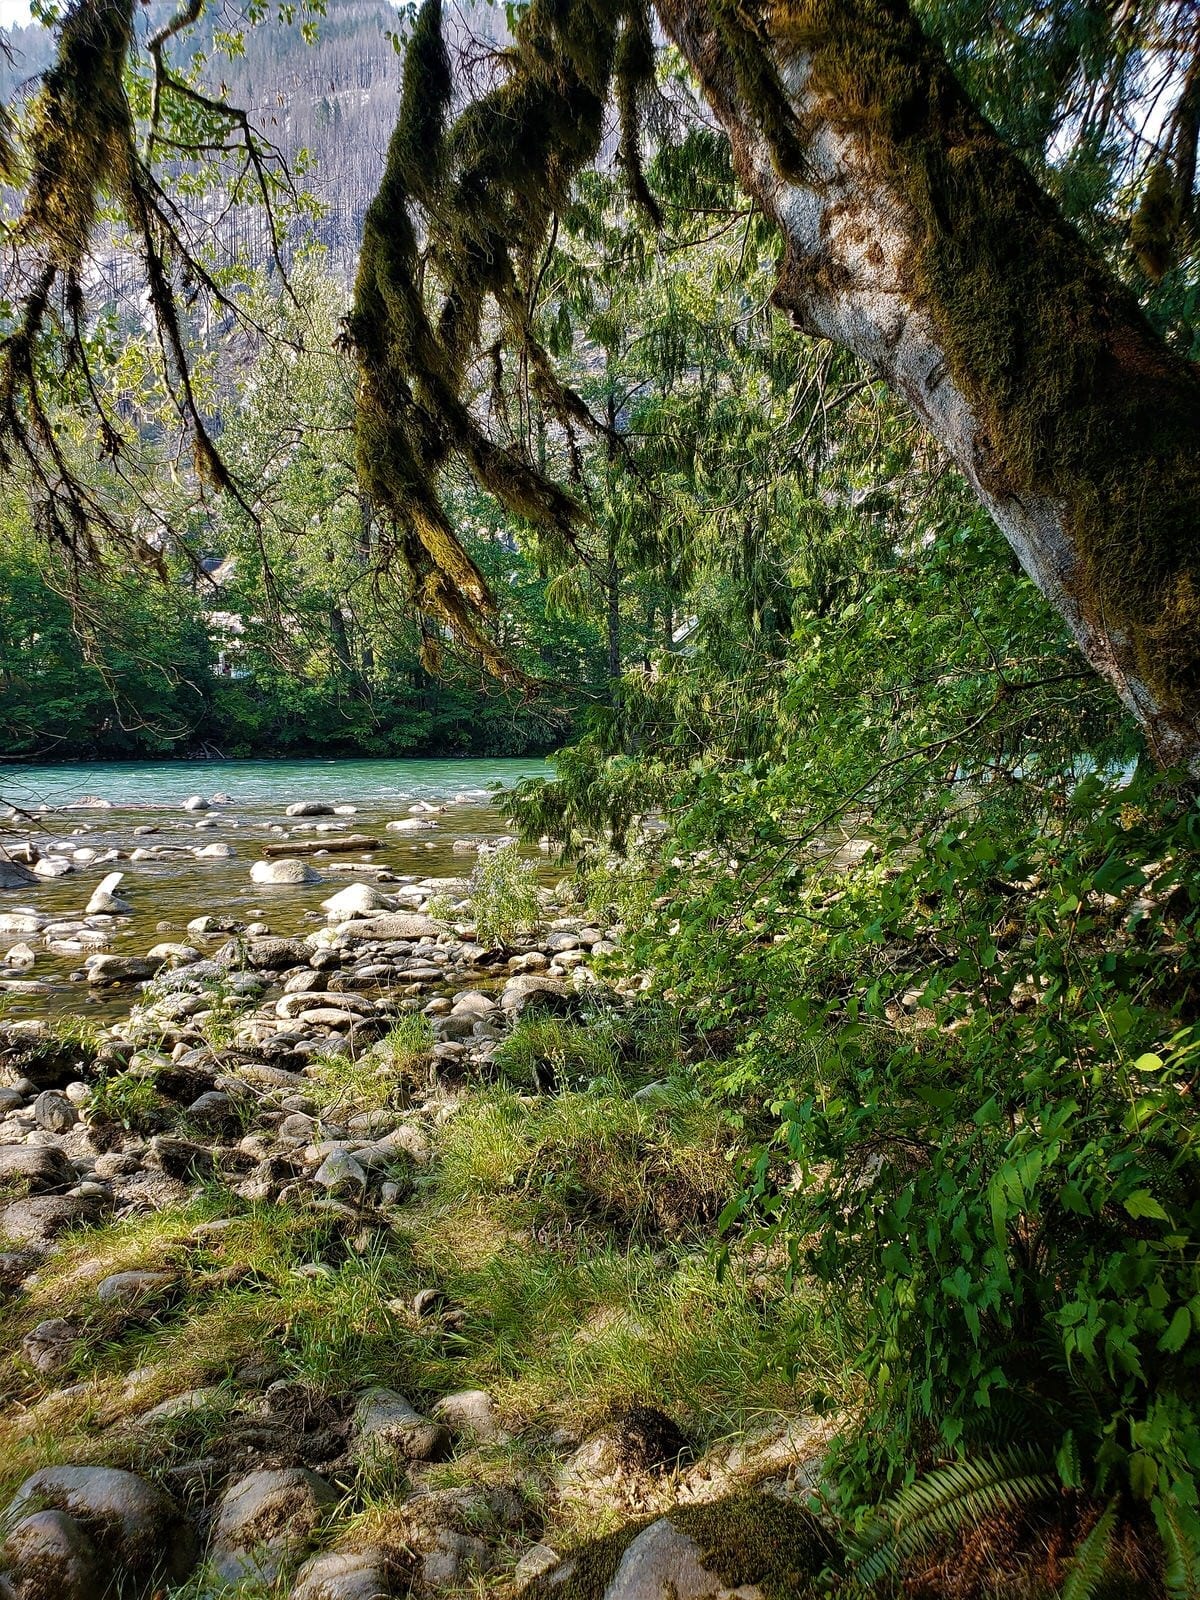
In the photo below, I used a cedar tree to frame the shore and lake in the middle ground. The tree leads the eye to the area the photographer wants the viewer to focus on, which is the turquoise river. Its an added benefit in this photo that its completely in focus. In some cases, the photographer wants to have the background or foreground out of focus or blurry. I was glad I got what I wanted in the photo.


Travel Photography Basics 5 – Perspective
Another good trick to improve your travel photos is this Travel Photography 101 tip. When you look up or shoot from a high point looking down, it gives a new perspective to the scene. The angle that you use makes all the difference. Remember to bend a knee, squat and shoot up or down to make an interesting angle. The cedars are massive and shooting this way is a great way to depict their size.
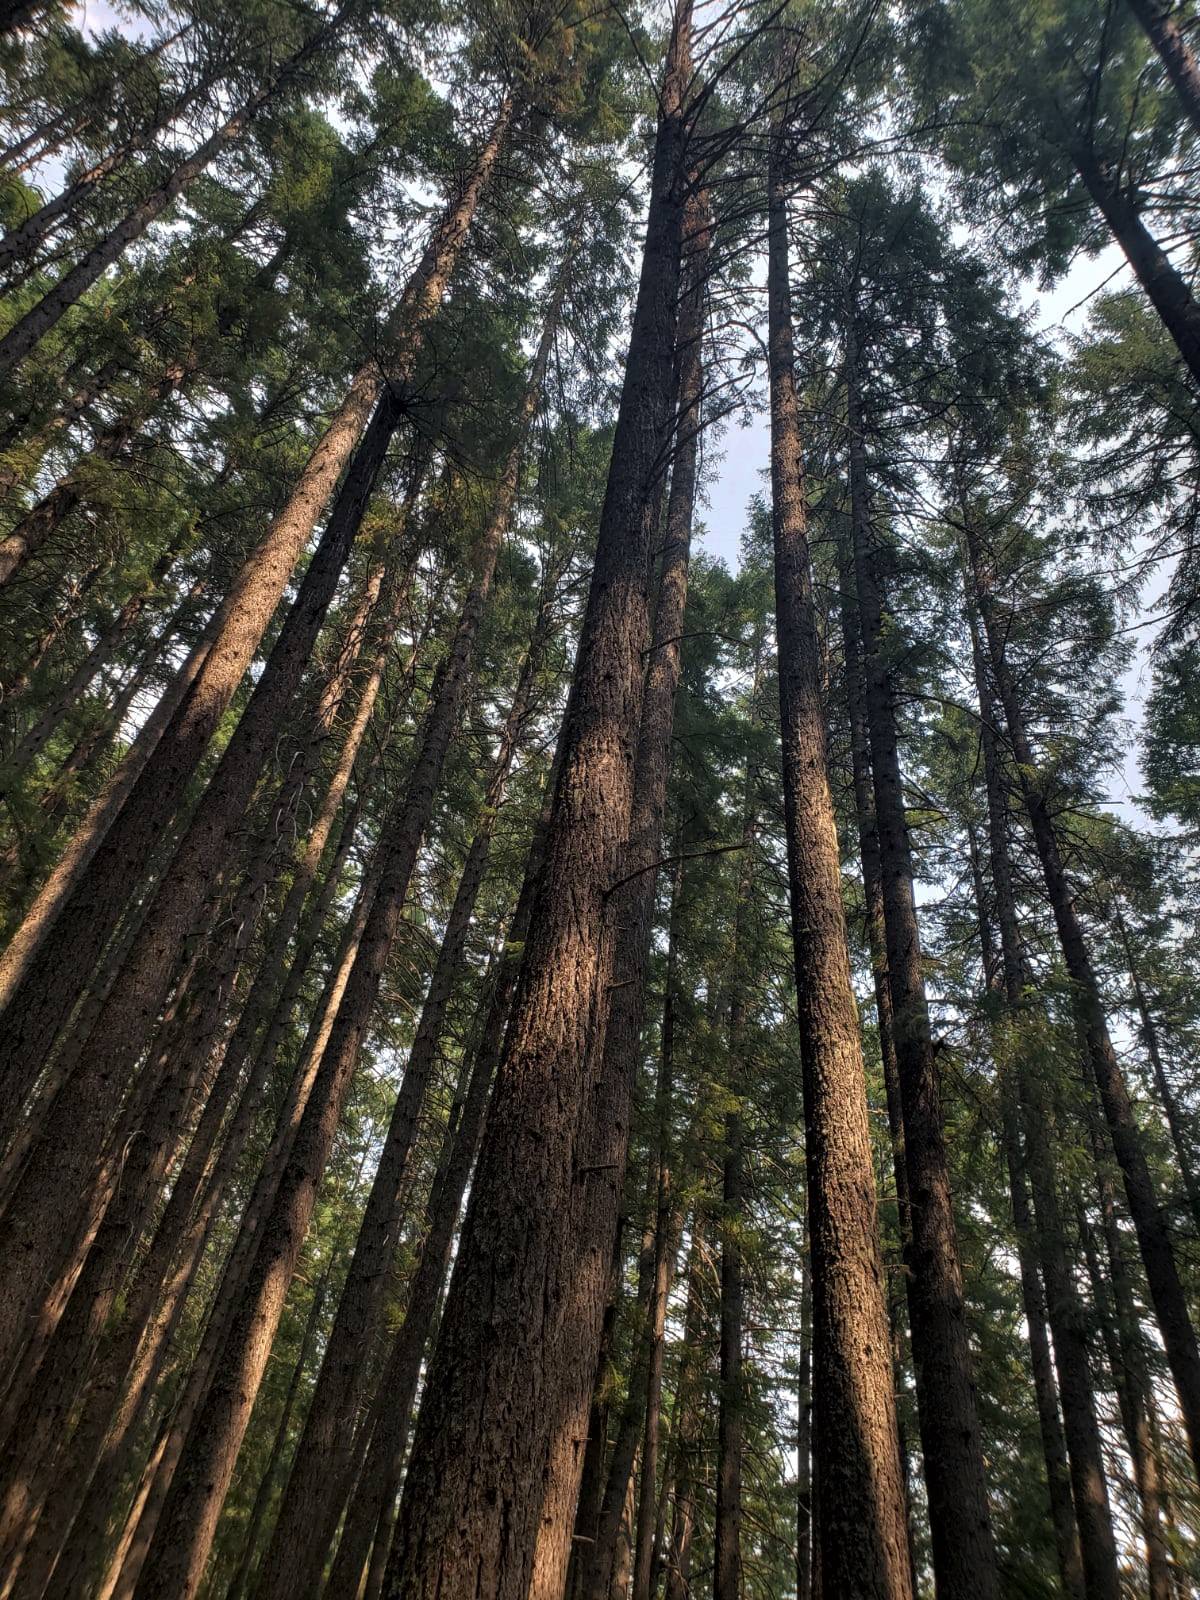


Here are some of my travel photos – see if you can see the Travel Photography 101 Basics in my photos. I hope you enjoyed my Travel Photography 101 tips. If you have some to share I would love to hear from you.
Copyright © 2025 Capetown-Rio, Inc. USA. All rights reserved. Republishing is allowed only with written permission. All photography rights on this page belong to Capetown-Rio, Inc. and the author. Do you have a question, business proposal, or speaking opportunity? Please contact me here.


